
A food waste disposer (often called by the brand name InSinkErator) grinds food scraps so they can be washed away down the sink. When it works, it’s handy. When it fails, the sink backs up, the kitchen smells, and the cupboard underneath can end up wet. Here’s how to tell whether yours can be repaired, and what’s involved in replacing it.
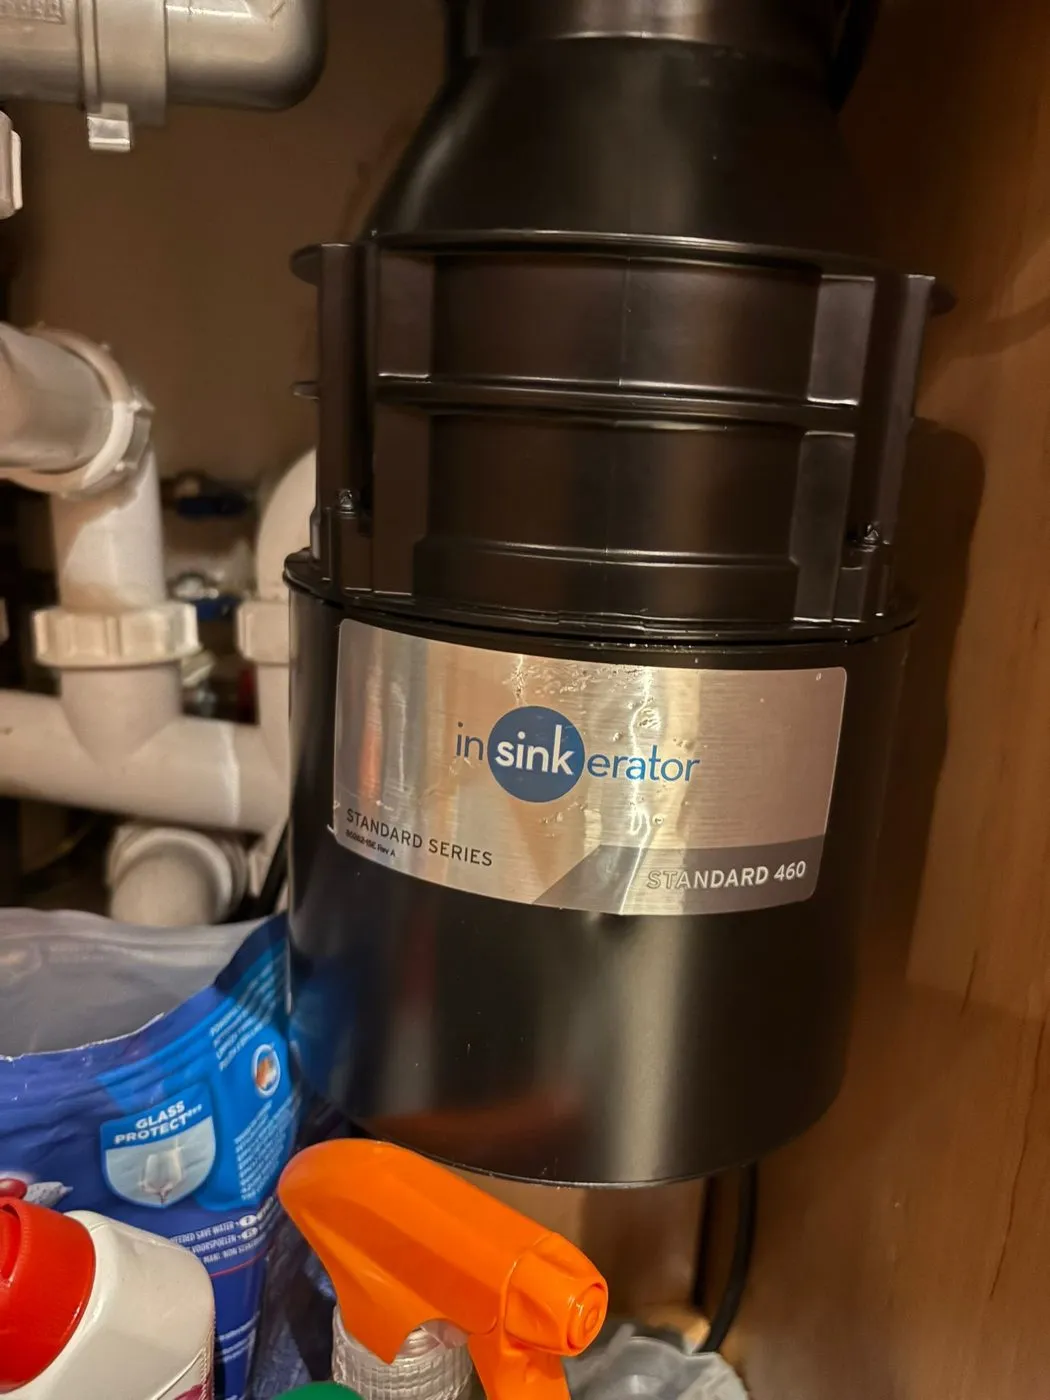
Common disposer problems
It hums but doesn’t turn. Usually something is jammed between the grinding plate and the chamber: a fruit stone, cutlery or a bottle top. Many units can be freed with the hex key socket on the underside, with the power switched off at the isolator first.
It does nothing at all. Check the power switch or air switch, the fused spur, and the unit’s reset button on the underside, which trips if the motor overheats.
It’s leaking. Leaks from the sink flange at the top or the waste connections at the side can often be fixed by resealing or tightening. A leak from the body of the unit itself usually means the internal seals have failed, and the unit needs replacing.
It drains slowly or smells. Often grease and fibrous food building up in the unit or the waste pipe after it. See our macerator and waste pump post for what grease does to kitchen drains.
It’s noisy and grinding poorly. Worn grinding parts or damaged mounts. On an older unit, replacement is often better value than repair.
Replacing the unit
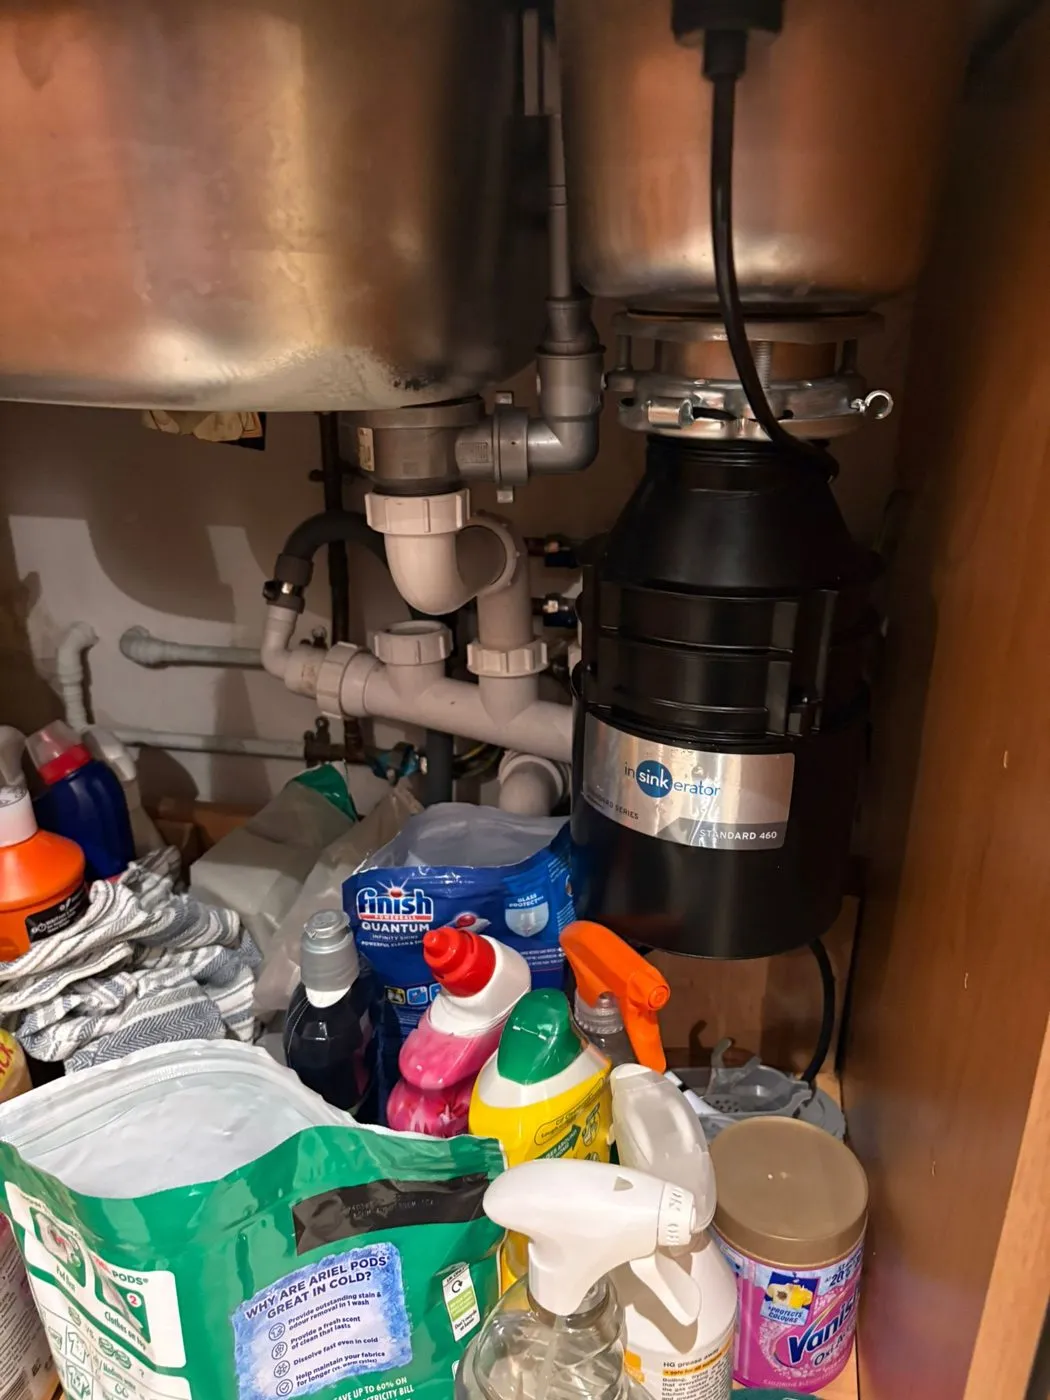
Replacing a disposer involves:
- Isolating the power, then disconnecting the old unit from the electrical supply, waste pipe and, where fitted, the dishwasher drain
- Removing the old unit from its mounting ring, and checking or replacing the sink flange and seals
- Mounting the new unit securely so it doesn’t vibrate loose
- Reconnecting the waste, aligned so the pipework falls properly to the trap and doesn’t strain the joints
- Reconnecting the dishwasher drain, removing the knockout plug on a new unit if a dishwasher is connected, a step that’s easy to miss and stops the dishwasher draining
- Connecting the power to a suitable fused supply, then testing with water running and checking every joint for leaks
Using a disposer properly
- Run cold water before, during and for a few seconds after using it
- Don’t put in fats, oils, grease, bones, fruit stones, eggshells in quantity, coffee grounds in bulk, fibrous peelings like celery and onion skins, or anything that isn’t food
- Feed scraps gradually rather than in one go
- Never put your hand inside; use tongs to retrieve anything, with the power off
Book a repair or replacement
Our team repairs and replaces food waste disposers, sink wastes and under-sink plumbing for homeowners, landlords and letting agents. See our plumbing and heating service.
We cover London and Essex, with our own engineers working every day across Chigwell, Loughton, Buckhurst Hill, Woodford, Ilford, Romford, Brentwood and Epping. Call 020 8227 0035 or request a quote.