
A statement chandelier can transform a hallway, stairwell or vaulted bedroom. It’s also one of the light fittings most likely to be installed badly. Weight, ceiling height and sloping ceilings all need thinking about before it goes up. Here’s what a proper installation involves.
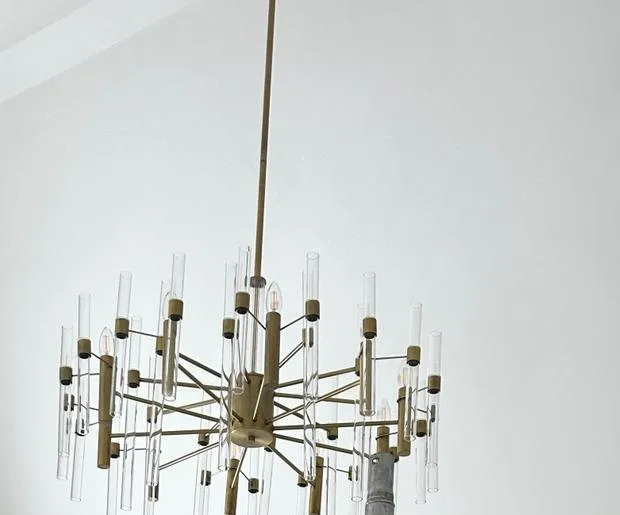
1. Check the weight and the fixing
A standard ceiling rose is held up by a couple of screws into plasterboard. That isn’t designed to carry a heavy fitting. Before fitting a chandelier, we check:
- the weight of the fitting, including glass shades and arms
- what’s above the ceiling: a joist, a noggin, or just plasterboard
- the fixing method: heavier fittings need fixing directly into timber or a purpose-made support, not into plasterboard alone
The wiring regulations require a ceiling light point to have a suitable fixing for the fitting’s weight. If there’s no joist in the right place, we can add a timber noggin between joists from above, through the loft, or through a small opening that’s made good afterwards.
2. Sloping and vaulted ceilings
Most chandeliers are designed to hang from a flat ceiling. On a vaulted or sloping ceiling you need:
- a sloped-ceiling canopy or swivel adaptor, so the drop rod or chain hangs vertically
- the right drop length, so the fitting sits at a sensible height in the space rather than lost in the apex
3. Getting the height right
As a rough guide:
- Over a dining table, the bottom of the fitting usually sits around 75 to 90cm above the tabletop.
- In a hallway or open space, allow at least 2.1m of clear headroom underneath.
- In a double-height space or stairwell, the fitting is often centred on a window or hung at first-floor level, so it can be seen from both floors.
Drop rods can often be shortened or extended, and chains adjusted. It’s easier to agree the height before the fitting is assembled.
4. Safe access for high ceilings
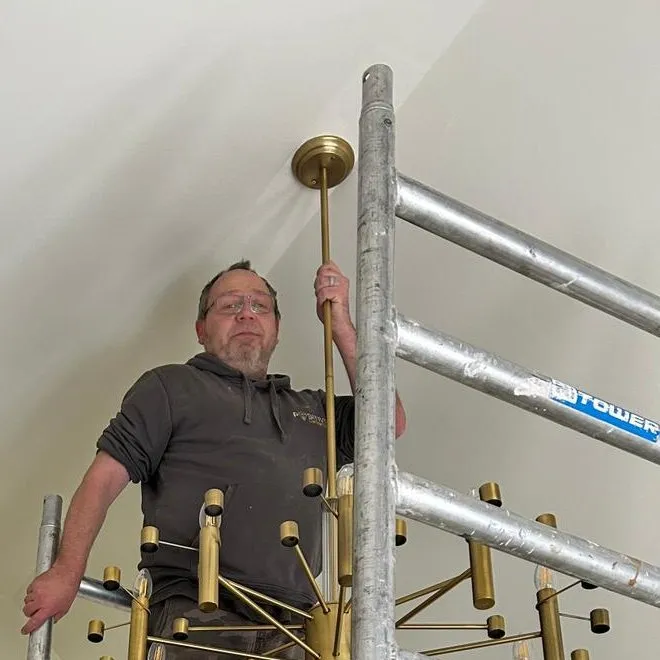
Ceilings above about 3m usually need more than a stepladder. For the job in the photos, we used a mobile access tower, which gives a stable platform to assemble and hang the fitting safely and keeps both hands free for heavy or delicate work.
5. Dimmers and bulbs
- Check the bulbs. Many chandeliers take small E14 candle or tubular bulbs. LED versions use a fraction of the power, last far longer and run much cooler, which matters with glass shades.
- Use a compatible dimmer. Old dimmer switches often flicker or buzz with LED bulbs. A modern LED-rated dimmer, or smart dimming, solves this.
- Consider smart control if the fitting is hard to reach. A smart switch saves a trip up a ladder later.
6. Assembly takes time
Larger chandeliers can arrive as dozens of arms, shades and fittings. Allow time for assembly, and keep the manufacturer’s instructions and any spare parts. We assemble fittings on site, test every lamp holder, and clean the shades of fingerprints before handing over.
Simpler pendant changes
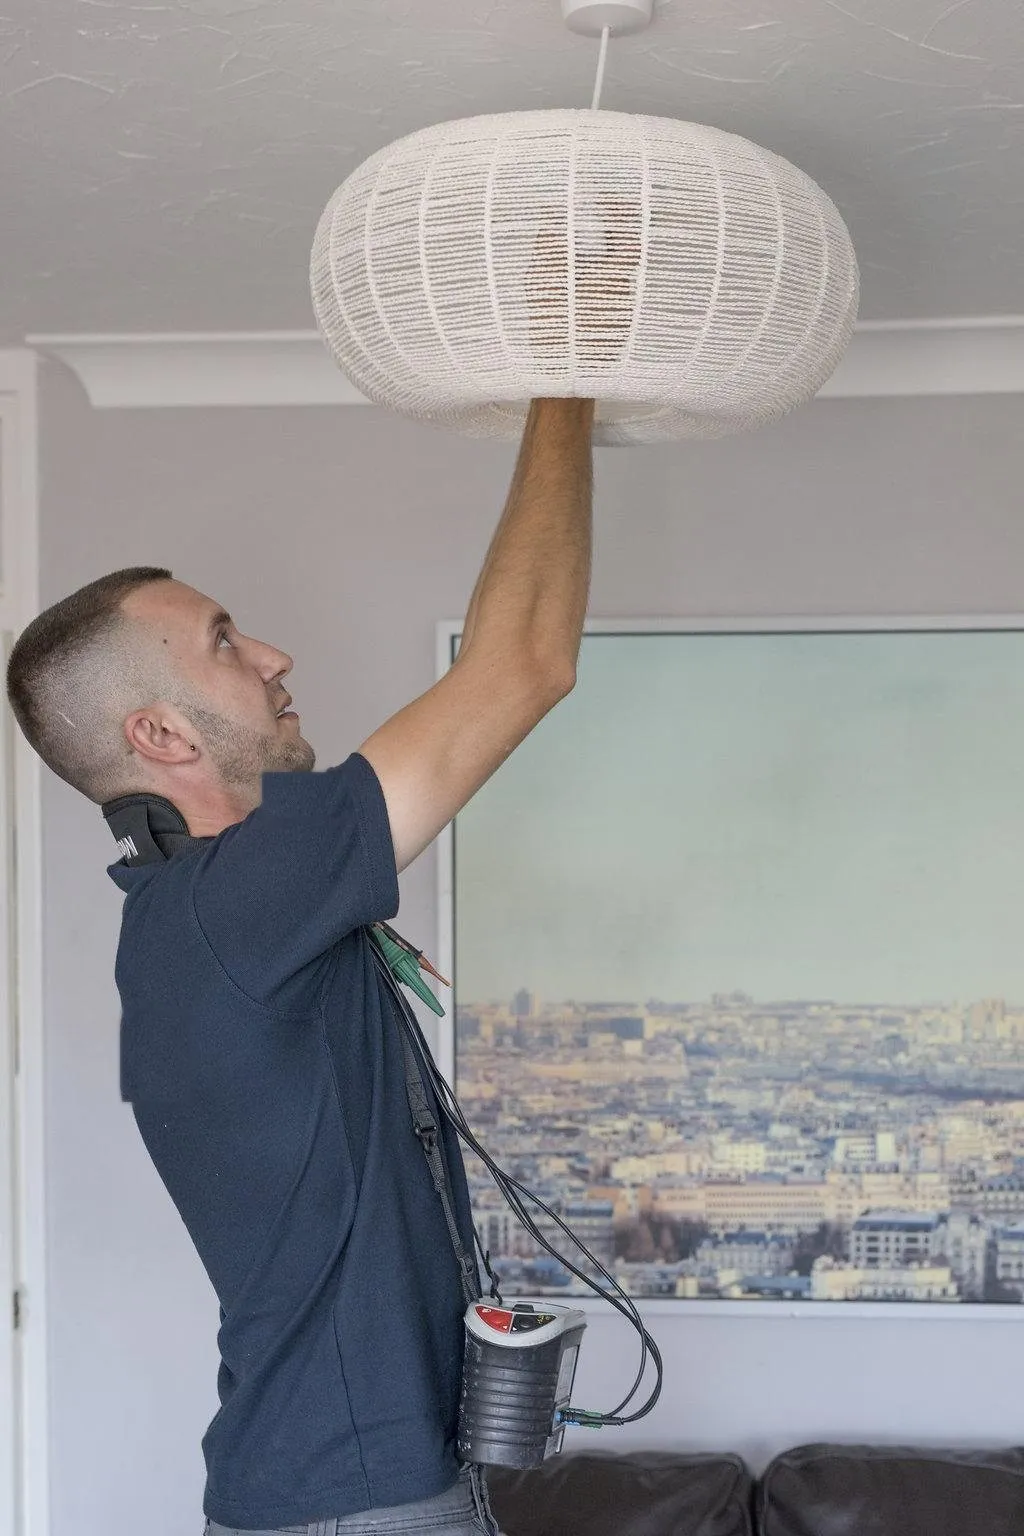
Not every light change needs a tower. Swapping a pendant or shade at normal ceiling height is a quick job, but it still needs the circuit isolated, the ceiling fixing checked, the connections made properly and the earth connected.
Book an installation
Whether it’s one statement chandelier or lighting for a whole refurbishment, our NICEIC-approved electricians can help. Send us a photo of the room and a link to the fitting, and we’ll let you know what’s needed. Call 020 8227 0035 or request a quote. Find out more about our electrical services and refurbishments.
We cover London and Essex, with our own engineers working every day across Chigwell, Loughton, Buckhurst Hill, Woodford, Ilford, Romford, Brentwood and Epping.